Creative Nail Art Polish Techniques to Try
Transforming your bare nails into a stunning, miniature canvas has never been more accessible. Whether you are aiming for subtle elegance or bold, eye-catching patterns, mastering the use of nail art polish can elevate your personal style and save you expensive trips to the salon. With the right guidance, jumping into the world of DIY nail art is a rewarding, creative journey.
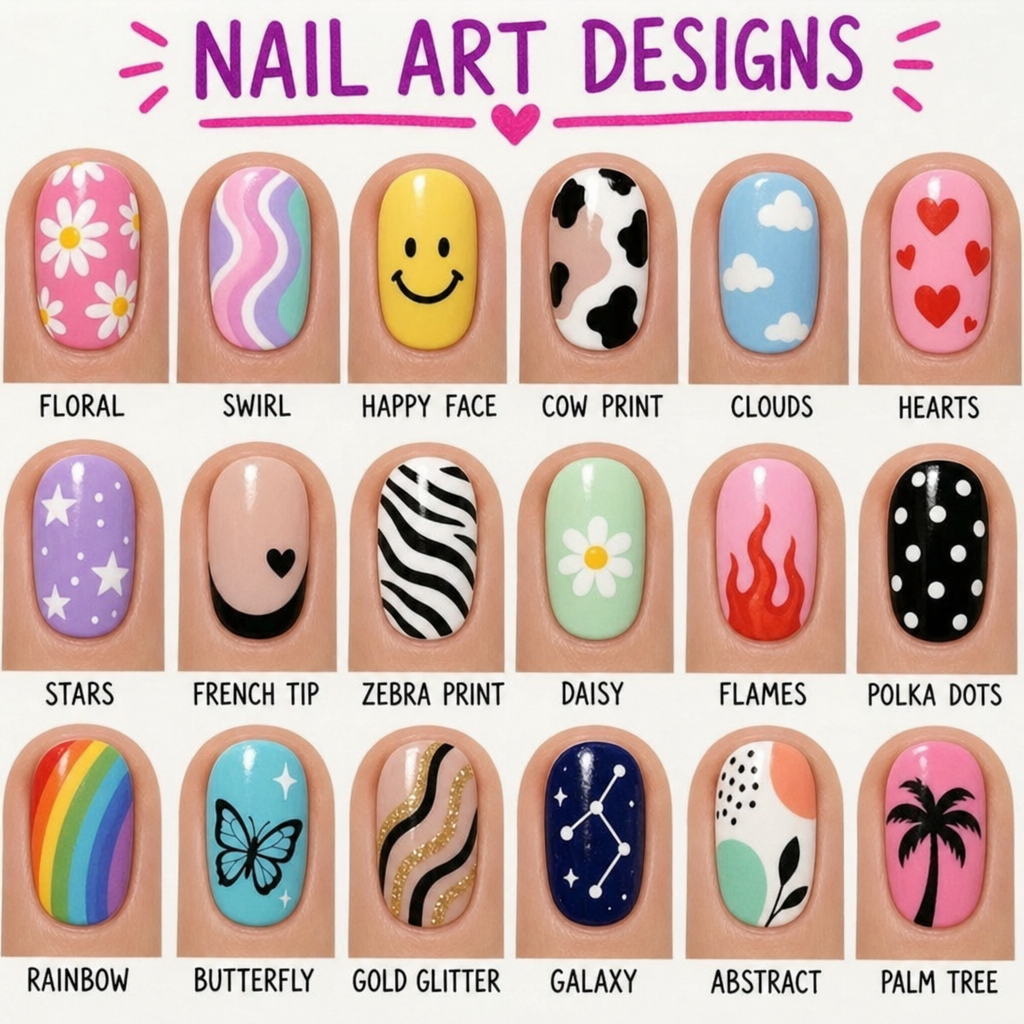
If you are looking for fresh nail art ideas to express your personality, you have come to the right place. This comprehensive guide will walk you through foundational prep, must-have tools, advanced application methods, and troubleshooting tricks to ensure your manicures look professionally done every single time.
Setting the Foundation: Prep and Polish Choices
Great art requires an excellent canvas. The secret to a salon-quality manicure lies in the meticulous preparation of the natural nail and the quality of the products you choose to apply.
Start with the Right Base
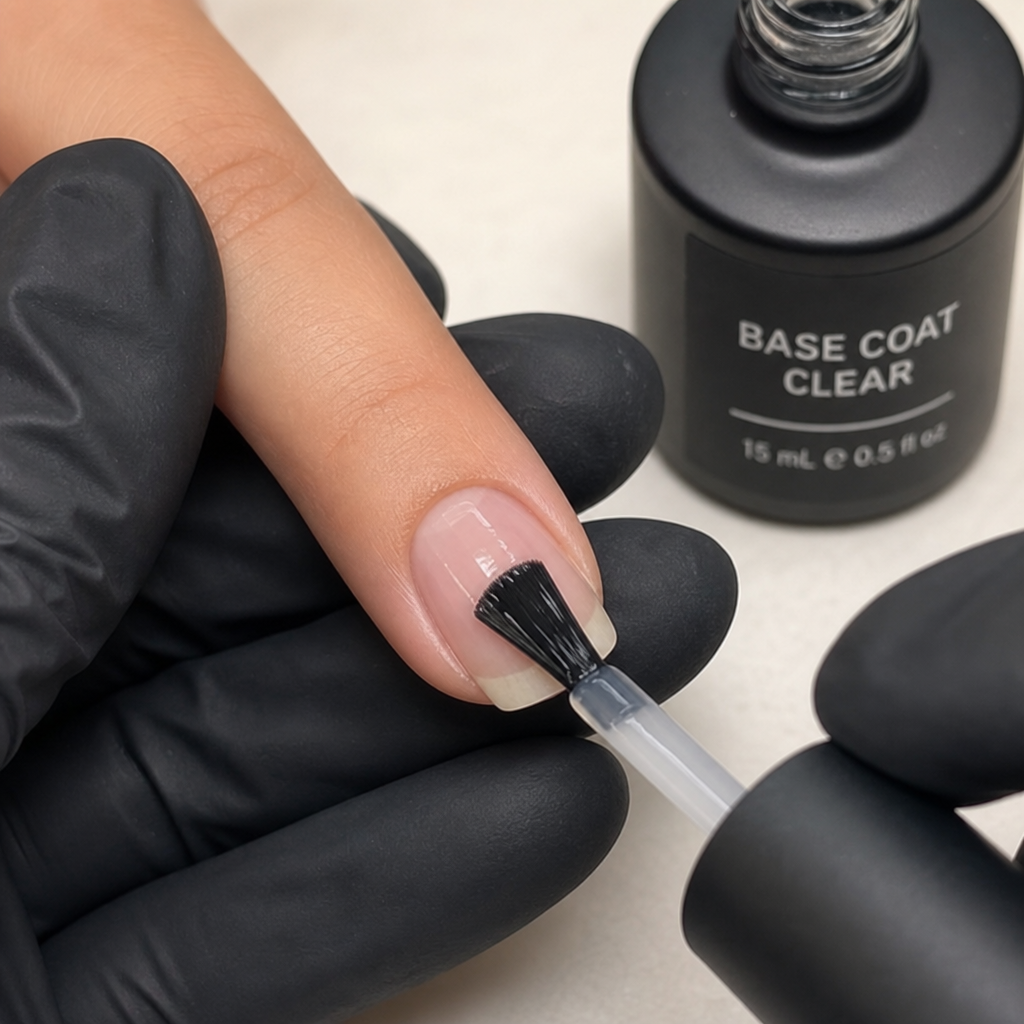
Before you even uncap your color, nail preparation is mandatory. After shaping your nails and gently pushing back your cuticles, selecting the best base coat for longevity is your most crucial step. A high-quality base coat acts as double-sided sticky tape: it adheres tightly to your natural nail plate while gripping the color layers above it. It also prevents highly pigmented colors from staining your natural nails.
Choosing Your Medium: Formulas and Finishes
When hunting down the best nail polish for nail art, you will quickly encounter a massive variety of formulas. Health-conscious beauty enthusiasts should strongly consider the benefits of 10-free non-toxic formulas. These polishes are manufactured without harmful chemicals like formaldehyde, toluene, and DBP, ensuring that your beauty routine does not compromise your respiratory health or the structural integrity of your nails.
You also need to weigh your options regarding the type of polish. When evaluating lacquer vs gel for detailed designs, consider your painting speed. Traditional air-dry lacquer requires a swift hand because it begins to dry the second it hits the air. Gel polish, on the other hand, remains wet and workable until cured under a light, making it the superior choice for intricate linework, shading, and complex character art.
Essential Tools for Flawless Nail Art
You cannot execute cutting-edge nail design trends with the bulky, standard brush that comes inside a polish bottle. To achieve truly stunning results, you need a dedicated arsenal of tools.
- Detailing Brushes: Investing in professional nail detailing brush sets will completely change your DIY game. These sets typically include stripers, shaders, and micro-detailers.
- Liners: Specifically, using fine liners for precision work allows you to draw razor-thin outlines, delicate floral stems, and crisp geometric grids without the color bleeding.
- Dotting Tools: Available in various millimeter sizes, these are perfect for creating uniform polka dots, leopard print spots, and easy flower petals.
- Curing Lamps: If you opt for gel over traditional polish, choosing the right UV LED curing lamp is vital. Look for a lamp with a minimum of 48 watts to ensure your gel layers cure thoroughly all the way to the base, preventing peeling and allergy risks.
Popular Nail Art Techniques to Master at Home
Once your toolkit is assembled, it is time to experiment. Here are three highly sought-after nail art techniques that you can easily replicate.
1. The Classic Ombré Fade
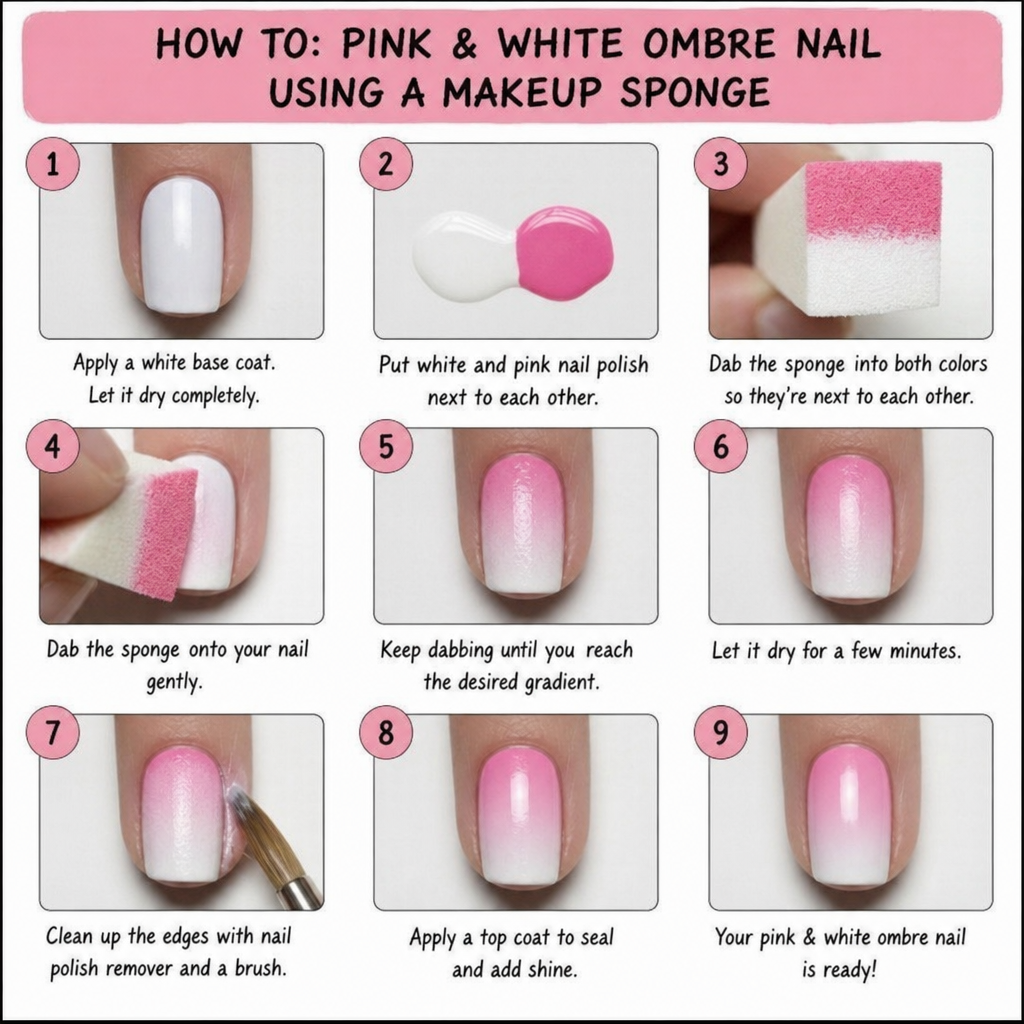
The gradient look is timeless, effortlessly blending two or three colors seamlessly across the nail. Gathering the essential tools for ombré gradient nails is simple: you will need your chosen colors, a liquid latex barrier to protect your cuticles, and dense makeup sponges.
Apply the liquid latex around your nail. Paint horizontal stripes of your chosen colors directly onto the makeup sponge, slightly overlapping them. Press the sponge gently onto the nail, rolling slightly from side to side. You may need two or three sponged layers to reach full opacity. Peel off the latex barrier and seal with a top coat to perfectly blur the colors together.
2. Stamping for Intricate Details
If freehand painting is not your strong suit, stamping allows you to transfer incredibly detailed nail polish designs straight onto your nails in seconds. To get crisp images, you need to understand the proper techniques for using stamping polish.
Stamping polishes are uniquely formulated—they are significantly thicker and more highly pigmented than standard polish. Brush the polish over the engraved metal plate, use a plastic scraper at a 45-degree angle to remove the excess, and then use a soft silicone stamper to pick up the design with a gentle rolling motion. Roll the image directly onto your nail, and you instantly have a masterpiece.
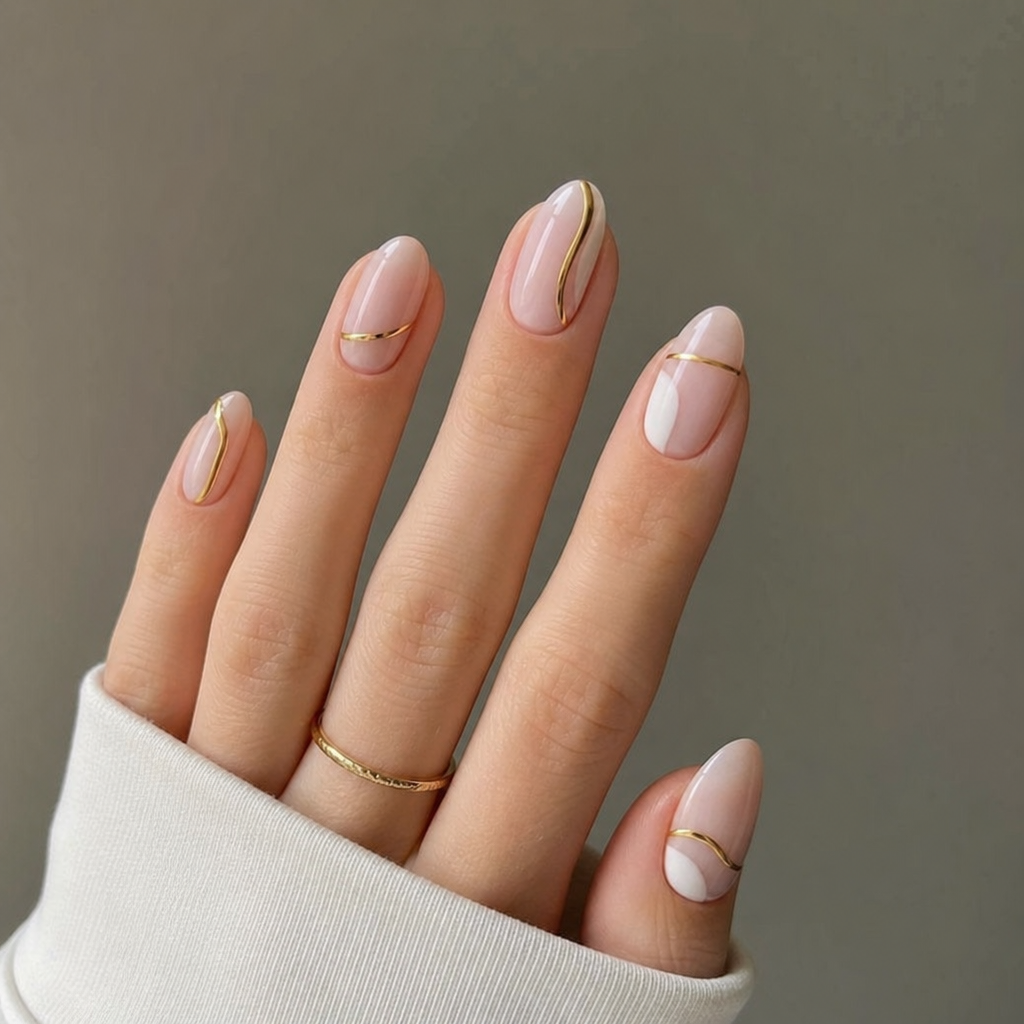
3. Minimalist Gel Designs
Minimalism remains a dominant trend, focusing on negative space, tiny dots, or elegant single lines. Doing this with gel requires a specific workflow. Follow these steps for applying gel lacquer at home:
- Apply and cure your gel base coat.
- Apply one or two thin layers of a sheer nude gel, curing between each layer.
- Use a fine liner brush dipped in highly pigmented gel nail art polish to draw your minimalist design (like a delicate French tip or a single vertical stripe).
- Cure the design fully, then seal with a top coat.
Troubleshooting Common Manicure Mishaps
Even seasoned DIYers run into frustrating roadblocks. Knowing how to fix them will save you from starting from scratch.
The Dreaded Bubbles
It is a common frustration: you finish a beautiful set, only to see tiny bumps form on the surface. “Why is my nail color bubbling?” you might ask. This usually happens for three reasons: shaking the polish bottle vigorously instead of rolling it between your palms, applying layers that are far too thick, or painting your nails in an environment that is too hot or humid. Keep your layers thin and let your polish cool in the fridge for ten minutes before painting to ensure a glass-like finish.
Smudges and Drying Times
Patience is a virtue, especially when dealing with standard lacquer. Keep in mind the average drying time for air-dry lacquers: while they may feel dry to the touch within 10 to 15 minutes, they can take up to 24 hours to fully cure and harden against deep dents.
If you do bump a nail, do not panic. There are quick fixes for smudged manicure art. If the smudge is minor, dip your finger or a clean detailing brush in a tiny drop of polish remover and gently smooth over the smudged area. Let it dry, reapply a very thin layer of color over the spot, and cover it with a thick top coat to melt the layers together.
Preventing Premature Chipping
Nothing is more tragic than spending an hour on a beautiful design only to have it flake off the next day. Knowing how to prevent manicure chipping comes down to the “capping” technique. When you apply your base coat, color layers, and top coat, always drag the brush horizontally across the very tip (the free edge) of your nail. This wraps the polish around the edge, creating a seal that prevents water and daily wear from lifting the paint.
The Finishing Touches and Safe Removal
Your masterpiece is only complete once it is properly sealed. The top coat you choose drastically alters the final aesthetic. Comparing matte and glossy top coats is all about the vibe you want to achieve. A glossy top coat brings out the vibrancy, depth, and sparkle of your nail art polish, giving it that classic, wet-look salon finish. Conversely, a matte top coat removes all shine, offering an edgy, velvety texture that works spectacularly well over dark colors and metallic foils.
Finally, as much as we love our manicures, they eventually need to come off. Protecting your natural nails during this phase is paramount. Never peel or forcefully pick off your polish. For gel users, strictly adhere to safe soak-off gel removal methods. Use a coarse file to break the seal of the top coat. Soak a cotton ball in 100% pure acetone, place it on the nail, and wrap tightly with aluminum foil. Let it sit for 15 minutes. The gel should gently flake away; use an orange wood stick to softly push off any remaining debris.
Conclusion
Creating spectacular manicures at home is an incredibly fulfilling hobby. By combining high-quality tools, the right nail art polish, and a dash of patience, your nails will become your favorite fashion accessory. Don’t be afraid to experiment with new colors, practice intricate line work, and let your creativity flow freely.